Blog / Practical notes for builders
Show what your robot can actually do
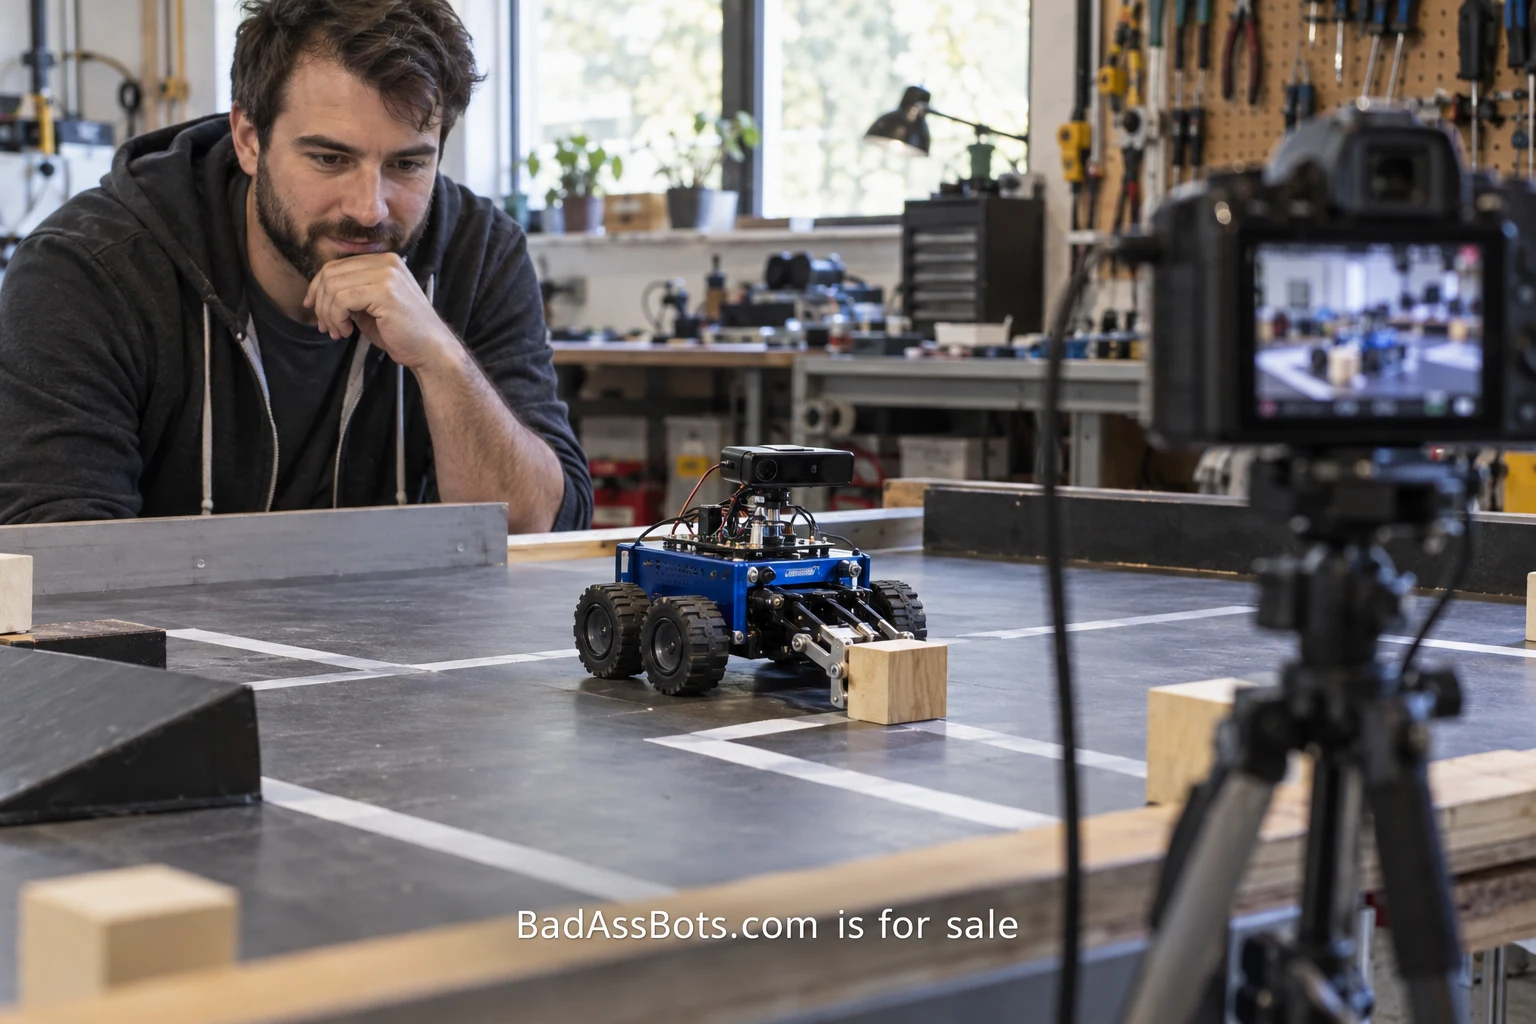
A useful robot demonstration answers a concrete question. Can this machine follow a marked route on the stated surface? Can it move the shown object from one tray to another? Can a first-time builder reproduce the supplied example? Choose one question before setting up a camera. A short video becomes more convincing when viewers know exactly what they are being asked to observe.
Define the task in a sentence that includes the conditions. “The robot follows this tape route on a flat indoor board using the supplied program” gives the viewer something to check. “The robot understands its environment” covers too much to establish with one scene. Keep the demonstration's claim close to the evidence the camera can capture.
Write a claim sheet before a storyboard
List every statement you plan to make in captions, narration, and the product page. Beside each statement, write the footage or measurement that supports it. If you cannot identify the evidence, narrow the statement or remove it. This applies to small claims such as easy assembly as much as impressive claims about autonomy.
Separate observed behavior from intended capability. A prototype may complete the task once without establishing reliability across different environments. Label it as a prototype and describe the observed test. A production kit should be shown in the configuration the buyer receives, with required extras disclosed where they affect the result.
A demonstration can also show a limited capability well. A line-following robot that reliably handles a specified route may be more useful to a hobbyist than an ambiguous montage of advanced behaviors. The task should connect to the customer's reason for buying, such as learning sensor calibration or completing an adult weekend build.
Record the exact configuration
Create a setup sheet with the hardware revision, firmware version, battery type, relevant settings, surface, lighting, and objects used. Include measurements that affect the task, such as route width or object dimensions. This makes a later retest possible and helps the team explain why a different setup behaves differently.
Manufacturer documentation is the starting point for component limits. The Pololu Zumo 32U4 user's guide documents hardware, sensor behavior, and programming details for that platform. If your demonstration uses a different machine, use its own documentation. A similar-looking robot is not evidence that the same settings or performance limits apply.
Record any preparation that materially affects the result. Calibration, mapping, preloaded routes, or carefully placed markers may be legitimate parts of the product. Show or describe them. The issue is whether the viewer understands the work required to reproduce the behavior, including steps that happen before the dramatic part of the video.
Make control visible
Decide how to label control mode. Manual control, a scripted sequence, and sensor-driven behavior are different capabilities. If a person is steering, show the controller or state that plainly in the shot. If an operator starts a routine and then leaves it alone, show the start and keep the run visible.
For mixed control, mark the transitions. A robot may navigate automatically but require a person to select the destination or approve a grasp. Those choices can be sensible product design. They should be clear enough that a buyer does not mistake assistance for a capability the machine performs independently.
Avoid hiding a tether, external camera, or nearby computer if it provides power, sensing, or computation. Frame the scene broadly enough to show the relevant equipment, or include a setup view before the run. A neatly framed close-up can follow after the viewer understands what the complete system requires.
Storyboard a continuous proof shot
Begin with a wide view of the robot, task area, and controls. Show the initial state and the operator's start action. Keep the machine and destination visible through completion. End long enough after the result for a viewer to see that the robot has stopped or reached the stated state.
A second camera can provide detail, but preserve a continuous master shot. If you cut between views, make it clear that they belong to the same run. Do not splice a successful pickup from one attempt onto a successful placement from another while presenting them as a continuous task.
Use a visible timer when duration is part of the claim. Define when timing begins and ends. If the footage is sped up, label the change and retain a normal-speed version for anyone who wants to inspect it. A cinematic edit and an evidence video can serve different purposes as long as each is described accurately.
Plan repeat runs and record failures
Choose the number of attempts before filming and keep a simple run log. Record setup changes, successful completions, failures, and interventions. The log prevents the team from unintentionally remembering only the best take. A small series is still a limited sample, so present the count with its conditions instead of converting it into a broad reliability claim.
For a fictional route-following test, the log might include ten attempts on the same board, each starting from the same marked position. Note if a wheel slips, the robot loses the line, or a person touches it. If you change a sensor threshold halfway through, separate the results for the two configurations.
Show at least one relevant limitation if it helps a buyer understand fit. That could be a surface the robot cannot handle or a lighting condition that requires recalibration. Explain the limitation with a practical consequence, such as the need for a matte test board, rather than treating failure footage as comic relief.
Keep the filming setup suitable for the machine
Plan the working area around the robot's actual mechanical and electrical requirements. Keep unnecessary objects and people out of the path. Make the stop or power-disconnection method accessible to the operator. A camera angle should not force somebody to reach across moving parts to interrupt the run.
Check the wiring and power arrangement against the relevant product documentation before filming. Raspberry Pi's hardware documentation warns against connecting motors directly to GPIO pins and points to suitable motor-control circuitry. For any platform, verify the real components rather than copying an attractive but incomplete wiring image from a presentation.
If the product involves hazards that require specialist design or review, complete that work before inviting participants to operate it. A demonstration is not a substitute for product engineering. Keep the scope of the video within the configuration and conditions the team has actually assessed.
Give viewers enough information to repeat it
Publish the program version, setup instructions, and required parts alongside the demonstration when the business can provide them. State which tools and accessories are included in the product and which are shown only for filming or testing. A buyer should not discover after purchase that the successful run depended on an unexplained accessory.
Add captions that describe observations: the sensor detects the marked route, the robot slows at the turn, or the operator resets the starting position. Avoid attributing reasoning or understanding to the machine unless the demonstration can support that explanation. Concrete descriptions help both experienced builders and newcomers evaluate what they are seeing.
Ask someone unfamiliar with the project to watch the evidence version. Have them explain the task, control mode, preparation, and result. If they misunderstand any of those, revise the captions or framing. The next step is to storyboard one unedited run that answers one buyer question, then film the setup and result with enough context for that answer to hold up.

About Michael Santiago
Michael founded i-Newswire.com in 2007, growing through iNewswire.com into the category-defining Newswire.com. The business sold to Issuer Direct for $44 million in 2022. That experience informs his belief in clear, memorable names. Today he develops premium domains and companies through OnlineBusiness.com.